Introduction
If you're looking for a fun and easy DIY project, why not try making your own scrunchies? These cute and comfy hair accessories are making a comeback, and with our DIY scrunchie kit tutorial, you can make your own in no time!
What You'll Need
- Scissors
- Pins
- Sewing machine or needle and thread
- Measuring tape or ruler
- DIY Scrunchie Kit
Step-by-Step Instructions
- Start by using the correct needle and presser foot. You will want to use a needle that says "Ball Point" or "Jersey".

- Also ensure your threads, both spool (on top of your machine) and bobbin (in your machine under your needle), are pulled to under and behind your presser foot, this will help keep your threads from getting sucked into the machine. If you are still having trouble with that you can hold them when you do your first few stitches.

- Next you want to fold your fabric lengthwise, with right (the side you want to see at the end) together. Place a pin 1" in from the end, and another one 1" from the other end. This is going to create your opening for the elastic a little bit later.

- You will want to have your machine set to a mid length zigzag stitch, this allows your fabric to stretch without snapping the thread.
- Pin or clip all the way down the long side at about 2 inch intervals. Start to sew at the pin you placed 1" in from the end. Be sure to back stitch a few stitches at the beginning and end to anchor your stitches. Remove your pins or clips before you sew over them.

- Turn the scrunchie tube right side out and adjust the fabric so that the seam is at the back of the scrunchie.

- Next you will fold your tube in half so your short ends meet, pin to hold them without shifting. You will sew this end all the way across with your zigzag and 1/4" seam allowance. Be sure to anchor your stitches at both ends of your stitch line.


- Once that is sewn, tuck your sewn edge inside, press (iron) the opening so the seam allowance of 1/4" is folded to the inside. You should have a donut of fabric at this point, all that is left is the elastic!
- Now it is time to feed the elastic into your fabric donut. pin a safety pin to one end and feed that inside. Take care not to lose your other end, to ensure this you can pin the loose end to the opening.

-
Next you will hold both ends of your elastic (free of pins) and pull the ends out as far as you can get them, scrunch your fabric donut down to the centre of the elastic as much as you can so it is out of the way. overlap you elastic ends to create a loop, you want to overlap it about 1" for security. Sew the elastic with a small zigzag stitch, going back and forth a few times to ensure the elastic is well connected. Take your time, this step is tricky because of the tension and small space you are working in.
 It should look a little like this.
- Now you can tuck that back into your fabric donut. Align the edges of the opening, taking care your pressed seam allowance is to the inside, and pin.

- Sew over the opening, anchoring your ends, to close it. The smaller your zigzag and the closer to edge (without going off) the more invisible the closure will be.

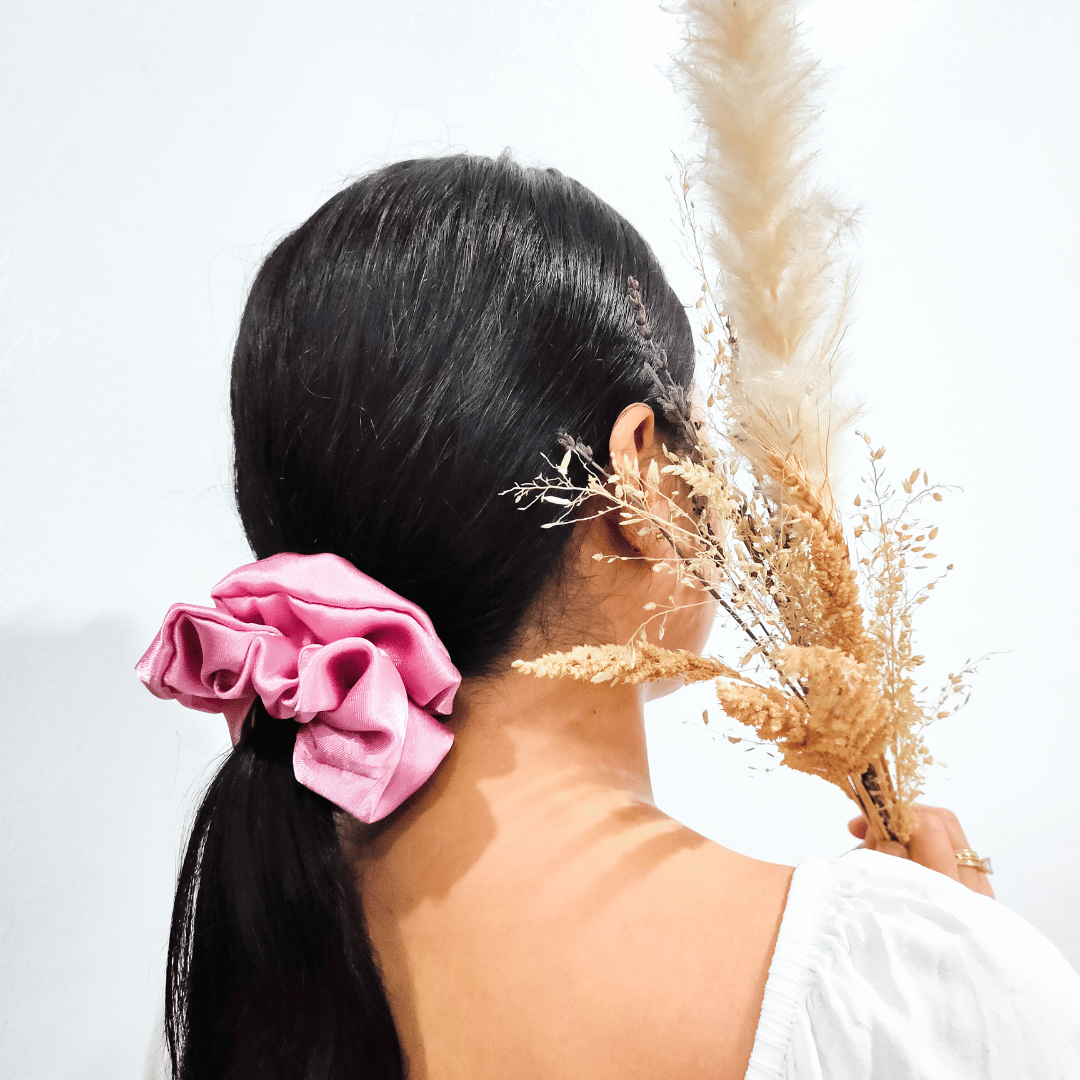
- And you are finished! Congrats on your new scrunchie!
